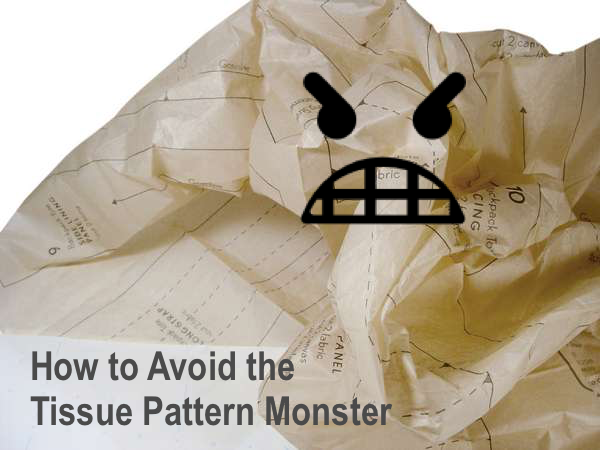
How to Avoid the Tissue Pattern Monster
Approach with Extreme Care. You have been warned....
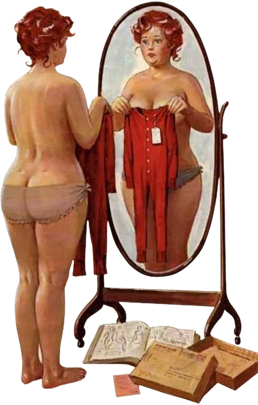
Have you even wonder how on earth anyone manages to get tissue patterns back into the envelopes?
Here's a video that perfectly captures the frustrations......
If THIS is how you feel - each time you go to use your tissue paper patterns - I have one word to
say: "DON'T." The best way to deal with the monster is simple:
Avoid.
Instead -
Trace the size you need on other paper that's easier to handle. This way you won't have to face the
monster after that!
And there are various ways of tracing patterns.
Here are some of the tips by sewing communities:
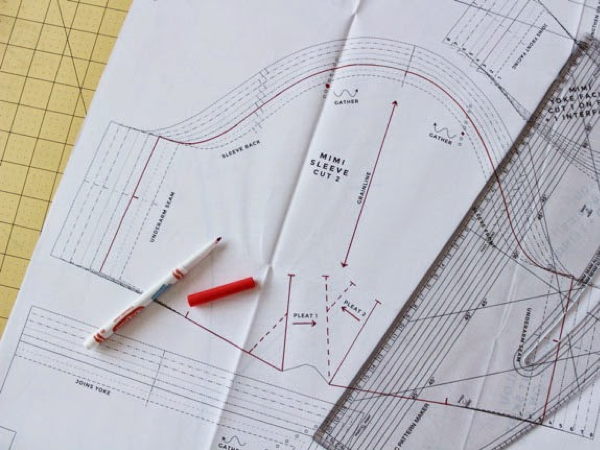
Tilly from Tilly & Button says: "Highlight your size first to help you see which line to trace. Go over
the lines in a coloured pen, and don't forget the markings such as notches, grain line arrows, and gathering
points."
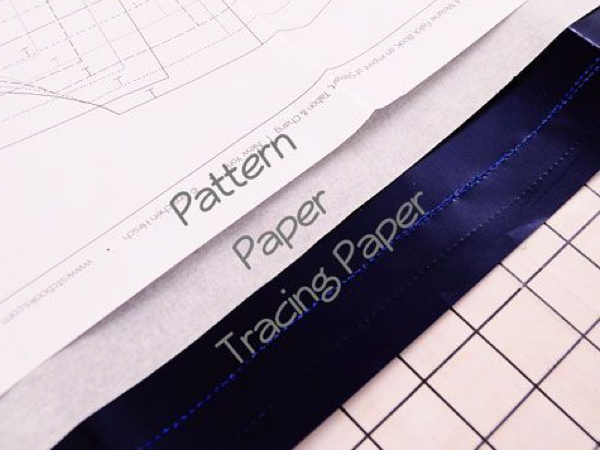
Lisa from Sew Over It says: "Time to trace the pattern onto the
pattern drafting paper
! It’s always a good idea to write on there the name of the pattern, the pattern piece, the size and how
many pieces to cut. Don’t want to confuse yourself later."
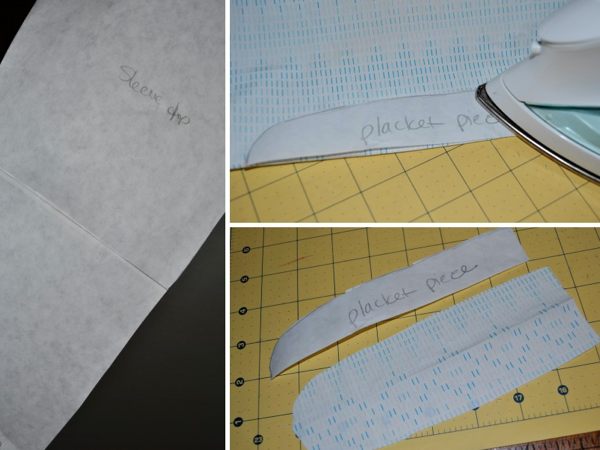
If you have some freezer paper handy, these are great too.
This is what
Lindsay from Craft Buds does: "Roll out freezer paper to completely cover your printed sewing pattern. With
the shiny side of the freezer paper facing down, use a pencil and ruler to trace the outline of your pattern
on the freezer paper."
Bonus Point - you can iron the freezer paper
directly on to you fabric instead of using pins. This works especially well with slippery fabric :-)
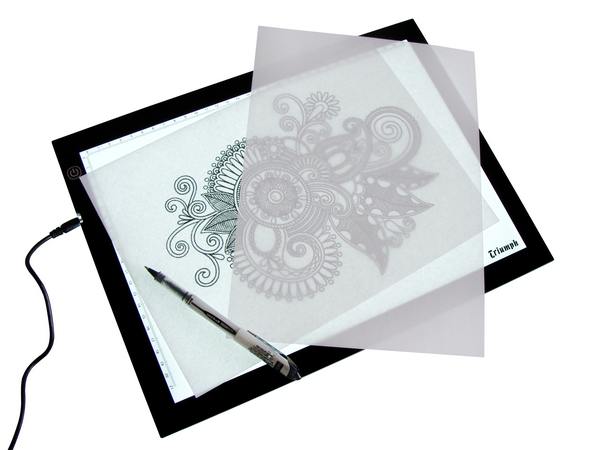
If you're finding the freezer paper a bit too opaque to see, another tip from Tilly is
"Get a light box to help see through the paper."
All done? You're ready to cut.
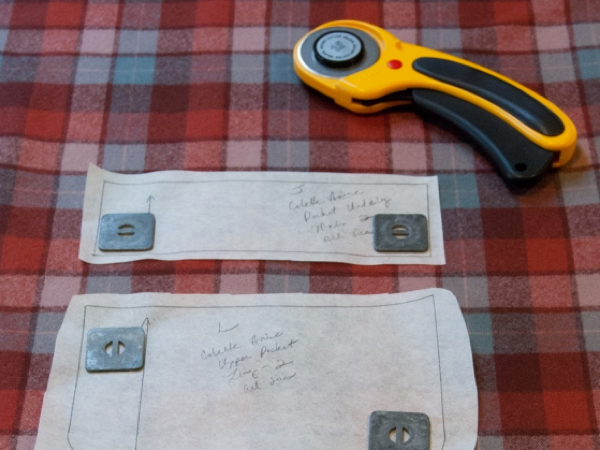
Amy from Really Handmade cuts her pieces out roughly, and use a rotary cutter to go around each piece precisely:
"When you go around them with the rotary cutter, you’ll be cutting out both your tracing paper pieces, and your
fabric pieces, saving you some time."
Now, for monsters of a different kind....
Euro patterns such as Burda & Ottobre, the method is just as easy.
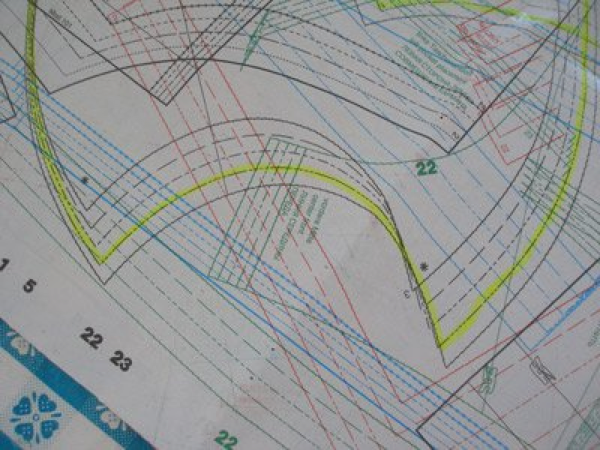
Deby from Sew So Easy says: "Do spend some time to correctly identify all the pieces.... use a highlighter
pen to run along the lines of the pattern pieces... and double check to make sure you are selecting the correct
lines for your size."
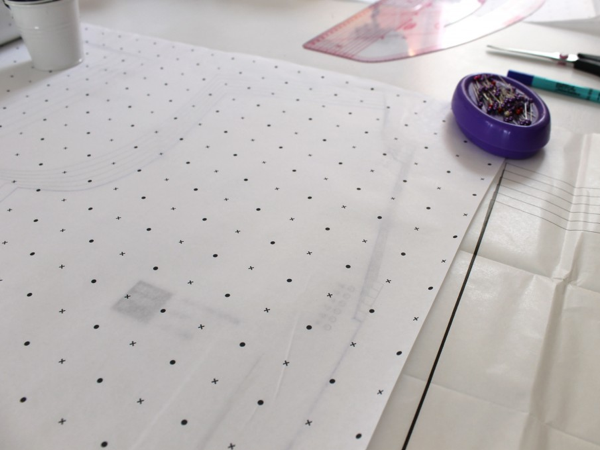
And then layer up - sewing pattern on top, drafting paper in the middle, and carbon paper at the bottom (inky side
facing UP).
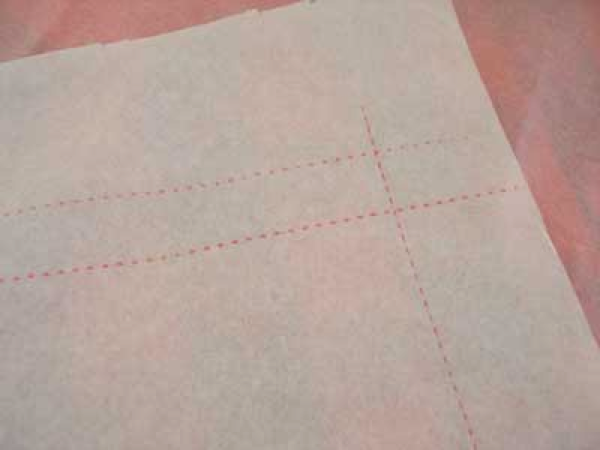
Make sure you use a cutting mat to protect your surface, and use a tracking wheel to go around the highlighted pattern
pieces! You'll end up with something like this...
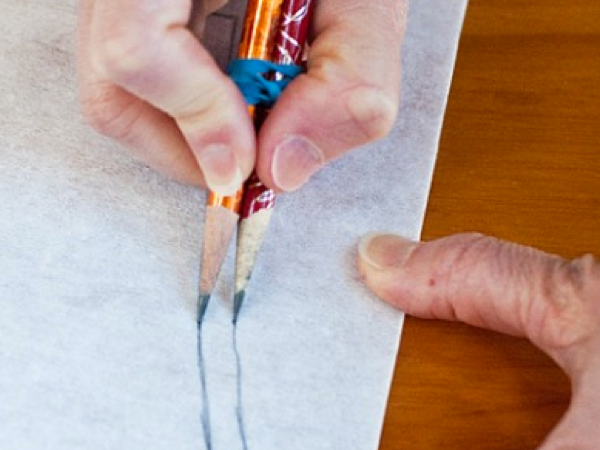
And you do need to add seam allowances to Burda & Ottobre patterns.
Deanna from SewMcCool says: "The easiest way to do this is to rubber-band two pencils together. If
you use a standard-size pencil, the two points will be about 8mm apart!"
And the
BEST tip of all -
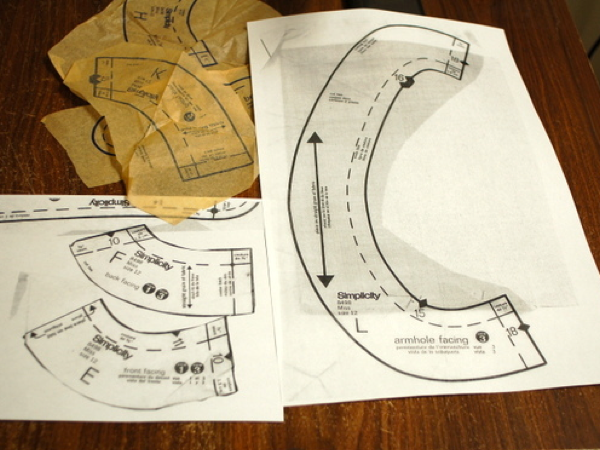
Tasia from Sewaholic uses a photocopier to save time!
"Carefully unfold the small pieces and arrange them face-down on the photocopier glass. Smooth out any wrinkles
or folds. Press copy, and
voila!"
Happy Sewing!
![]()
xoxox