How To Finish Seams Without an Overlocker
Here's How To Finish Seams (nicely)...
Without Using an Overlocker
For years, I didn't have an overlocker.
When I got my first sewing machine as a teenage, I knew that an overlocker would be out of the question, budget-wise. And frankly, I was terrified of them - all those threads, plate change, and a blade that could bite. Ouch.
A few years later, I went on to Fashion School - where they did have overlockers for us to use in class. And I did get over my fears. Happy Days!
Except when we had to finish our garments at home - in a mad panic the night before deadlines. While normal uni kids cram before their exams, we were sewing like crazy!
And completing the garment was only the first part - we were also expected to produce professional results, because our garments would be turned inside out for close inspection on the finishing. No dodgy business allowed....

Raw Edges? Nonononono...
Of course, I didn't have an overlocker at home. None of my friends had one, either.
So here's what I did instead:
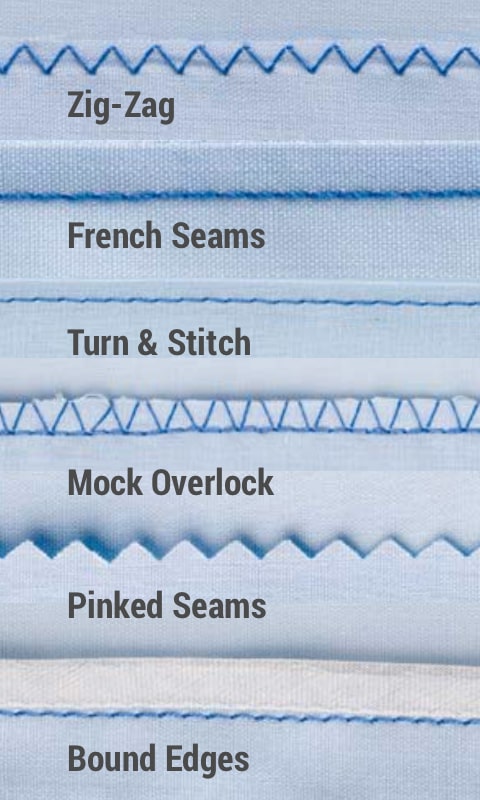
1. Pinked Seams:
Press seams open. Then just trim the raw edge with your pinking shears (or use pinking rotary cutter, if you have one). You can actually cut out your pieces in pinking shears instead of normal scissors - this is my favourite hack to save time!
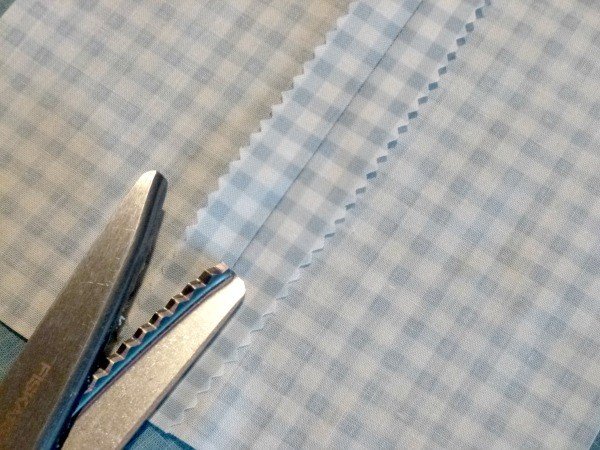
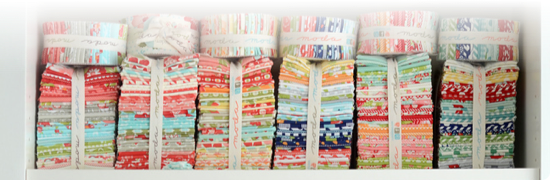
Suitable for: Woven fabrics that don’t fray easily, and not intended for heavy wash and wear. A tightly woven cotton / cotton blend is ideal. While Liberty fabric "pinks" beautifully, this method isn't so good for a loose weave like linen or silk dupion (read on to see what I do with these fabrics).
2. Turn & Stitch (aka Clean Finish):
Press seams open. Assuming your seam allowance is 15mm (or 1.5cm), turn 5mm (or 0.5cm) of the raw edge under, and run a straight stitch close to the fold. Simple and uses minimal amount of thread (especially important if you're running low on thread and it's 2am).
Suitable for: Light to Medium weight woven fabric that (hopefully) presses crisply. Might be too bulky for heavier fabric like denim or cord - I'll share another method for these. Keep reading.
3. Zig-Zag:
You can press seams open or to one side, and zigzag over the raw edge.
It's faster if you press seams to one side, because there's only one row of zig-zag you need to do (great when you're short of time, or sleep, or both)....
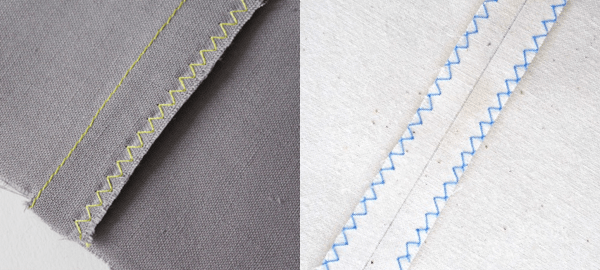
Suitable for: Just about any type of fabric - except for sheers and really delicate fabrics, in case the machine eats them up.
4. Mock Overlock:
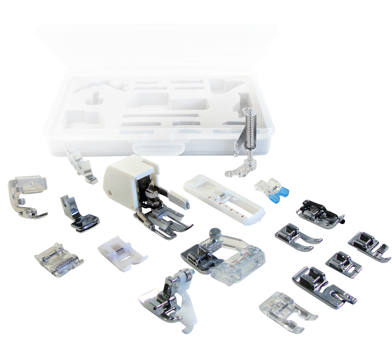
Most machines these days have some sort of mock overlock stitches, and they work perfectly well (if a little slower compared to a real overlocker). They are often called overedge or overcast stitch in your sewing machine manual.
Take a look at your sewing machine - even some of the most basic models have a decent selection to choose from!
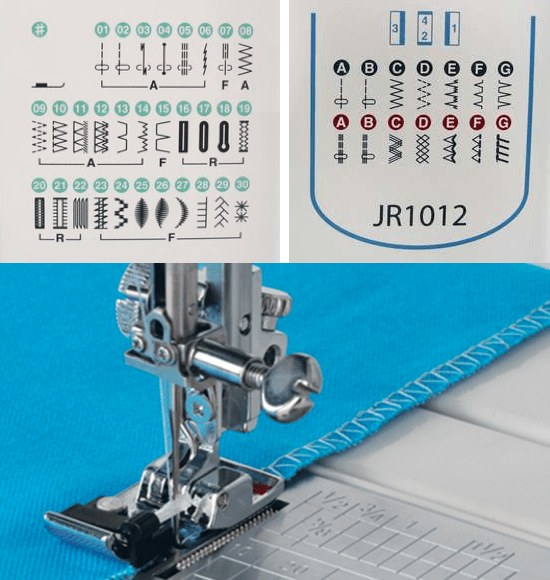
Suitable for: Just about any fabric! Some stitches are designed specifically for knit fabrics - so play with your machine and try a few stitches on your fabric to find the best stitch type.
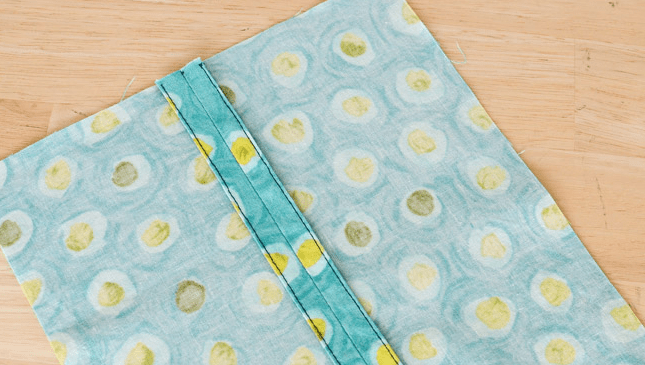
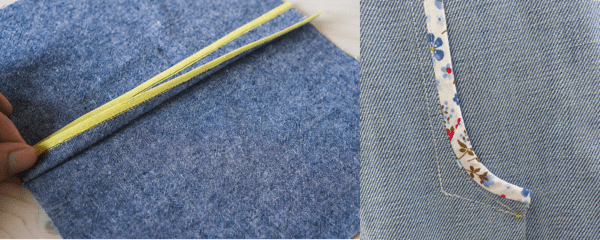
5. French Seams:
A perfectly neat way to fully encase your raw edges, and surprisingly easy!
First sew your two fabrics WRONG sides together using a 1/4″ (or 8mm) seam allowance. Then, trim the seam allowance down to 1/8″ (or 4mm) and press. Then turn fabric so RIGHT sides are now together - stitch a 3/8" (or 1cm) seam to encase raw edges.
French Seam is one of those things that's easier to do than to explain. So here's how it goes in pictures:
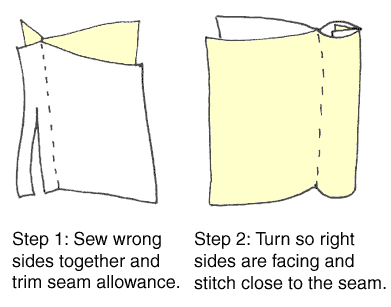

I'm quoting inches because I like to use my Quarter Inch Foot for French Seams. It's a lot easier and produces such perfect seam that I often skip the trimming :-)
Suitable for: Sheer / light weight / delicate fabric, and best for straight seams because it doesn't curve so well. Perfect for kids wear because it make sturdy seams and no itchy overlocking!
6. Bound Edges:
Some called this "Hong Kong Finish" and considered it a high-end finish, because the traditional method can be really time consuming...
But not any more - because you can use a Bias Binding Foot and whiz it through!
See it in action - Watch it on Vimeo:
https://vimeo.com/236584402
Suitable for: Loose weave fabric like linen and silk dupion (two of my favourite fabrics), and just about anything you can feed through the bias bind foot slot. I've even seen these on denim, and you can use colourful binding too!
Of course, the last two methods aren't as fast to do, but they always turn your homemade garments into bespoke quality - definitely worth doing :-)
Do you have a favourite way to finish seams?
Simply Send me an email and tell me all about it :-)
Happy Sewing!
![]()
xoxox
P.S. Of course, nothing beats the time you save using a real overlocker .
These days they are easier to use and less scary - even come with a DVD to make sure you always have help on hand!
Grab Yourself an Overlocker , while they're on Sale ?
https://www.sewmucheasier.com/sewing-machines/just-overlockers/
P.P.S. Still want more? Here's a FREE Comprehensive eBook for you:
Download it Now - it's yours.
You'll find heaps of useful (yet non-boring) information to actually help you sew easier (with less unpicking) - no matter where you are in your sewing journey :-)
Enjoy!