How To Pad Up Your Mannequin
Create YOUR body double for a Perfect Fit
Say you've bought one of our Adjustable Dressmaker's Mannequins...
You've carefully chosen the size based on your body measurements (because you know that dress size vary from brand to brand therefore NOT reliable).
Now that you've adjusted her to match your measurements - you're ready to sew (woohoo)!. Oh, wait a minute. You've just realised...
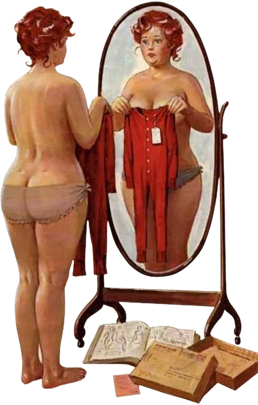
Your mannequin doesn't look anything like you
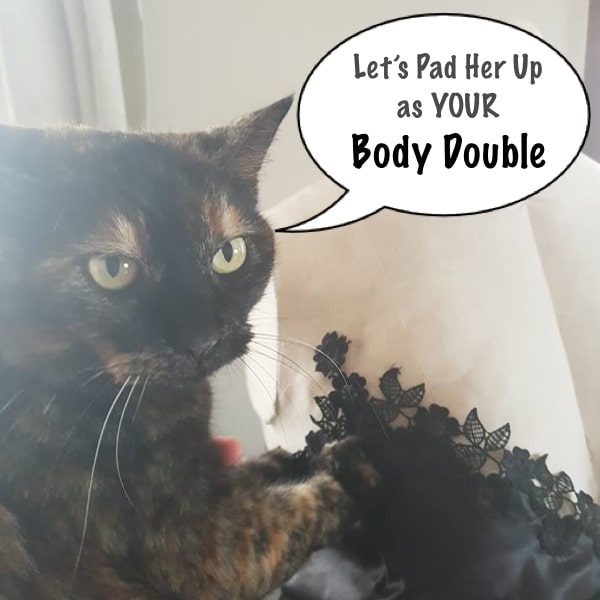
Because NO two people have the exact same shape, you just might need to pad her up so that she replicates your curves. Let's find out how...
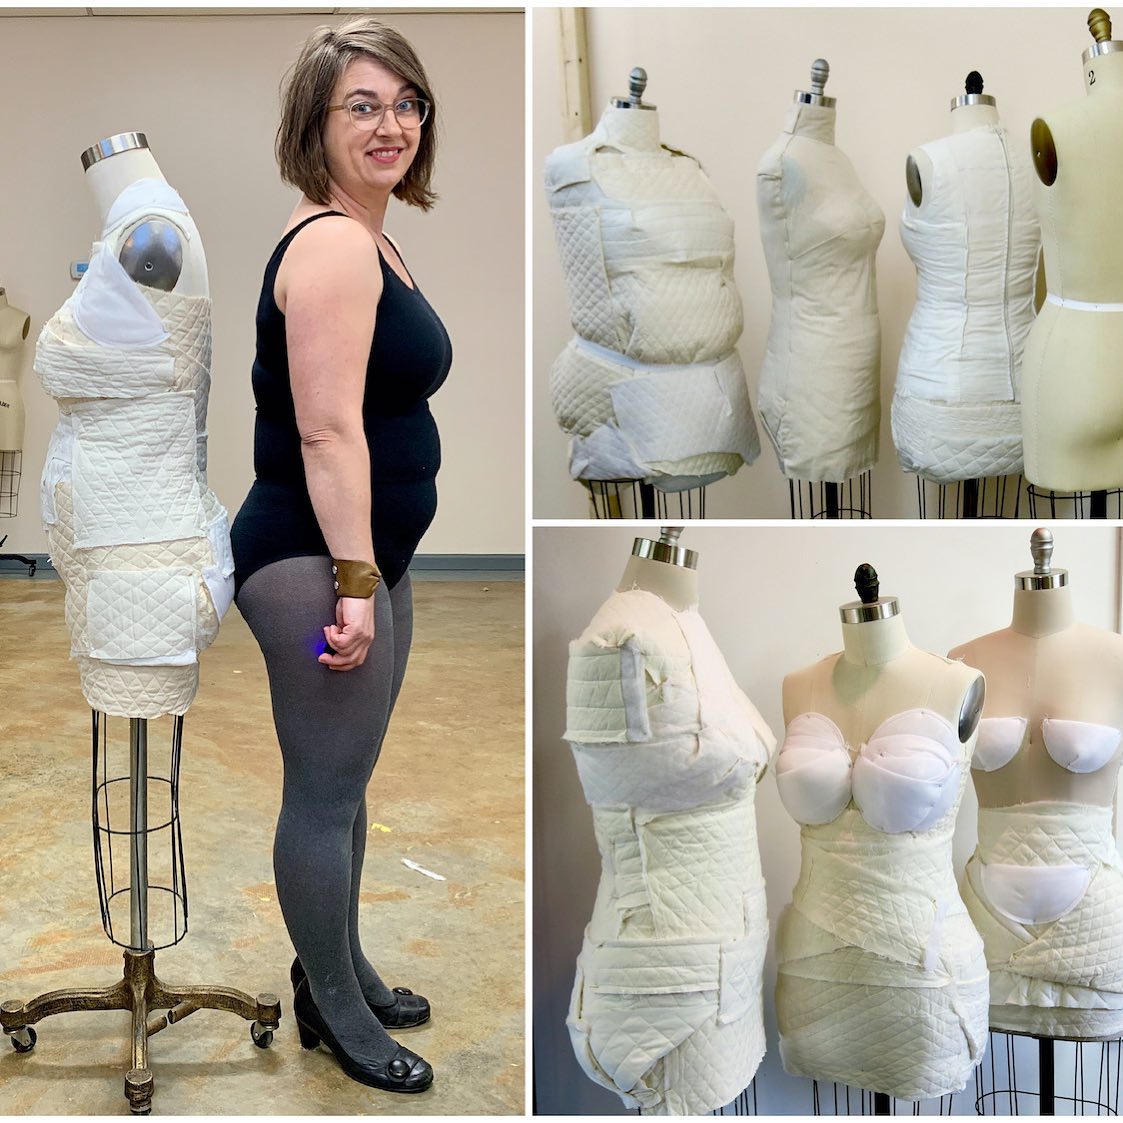
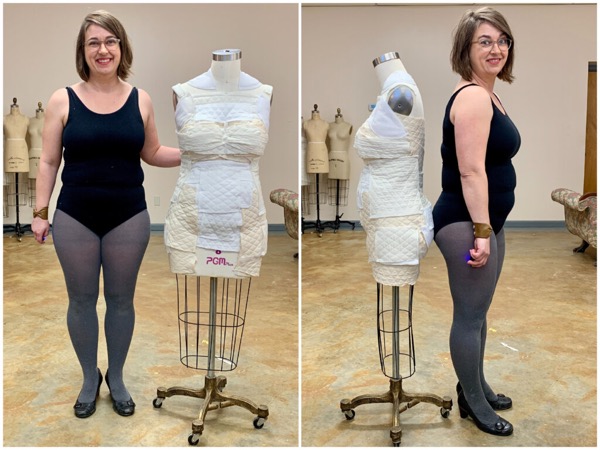
Meet Brooks Ann - she teaches sewing online. She's also a talented costume maker who creates one-of-a-kind wedding dresses to fit and flatter people of all different shapes and sizes!
In her collaboration with By Hand London, Brooks Ann has generously shared her method in padding stock-standard mannequins into precise replicas of her clients.
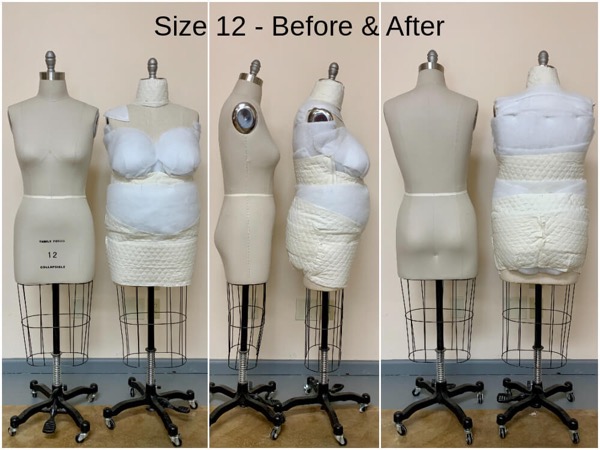
Let's take a look at some Before & After shots...
Same Size - Different Curves

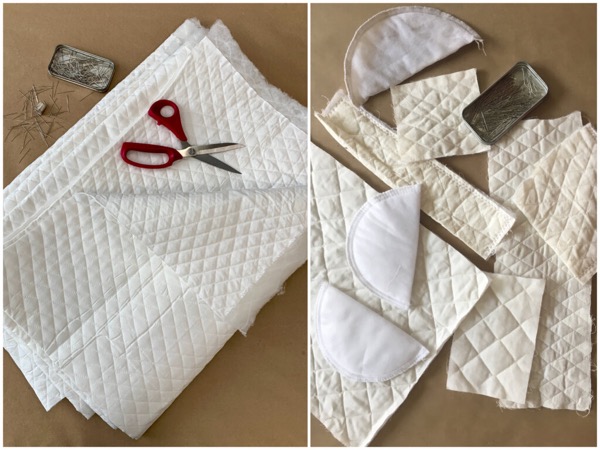
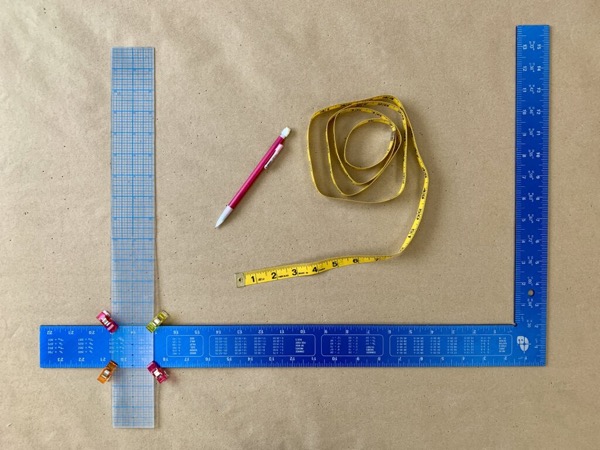
To start, you need three things:
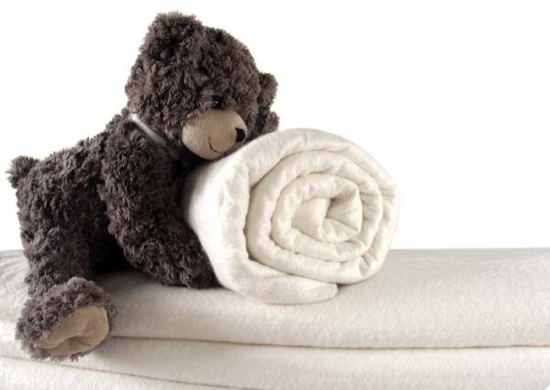
- Something to pad with
Pins, Wadding, Calico, Quilted Calico, Shoulder Pads etc. - Something to measure with
Tape Measure, Carpenter's Square, Ruler etc. - Something to visualise with
Photo of you and the mannequin side by side, printed out!
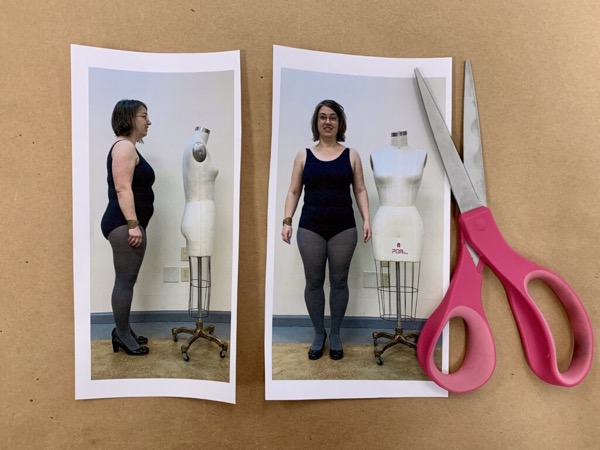
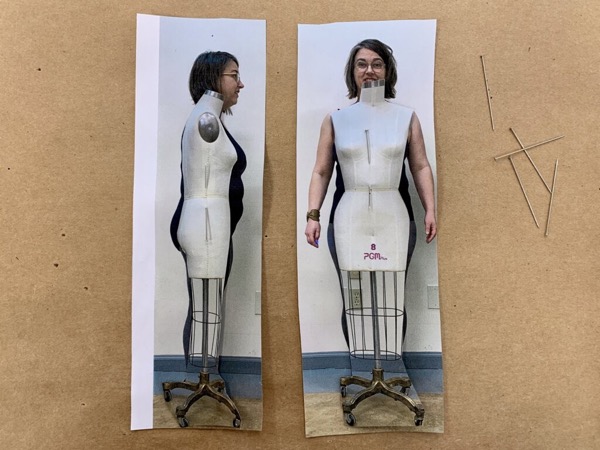
Make little paper doll cutout... of you and your mannequin. Layer the two cutouts together so that you can see where the curves are, and how much to pad out.
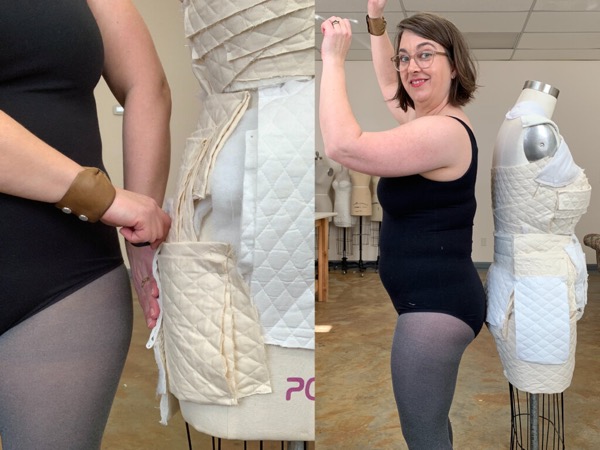
Now, start padding...
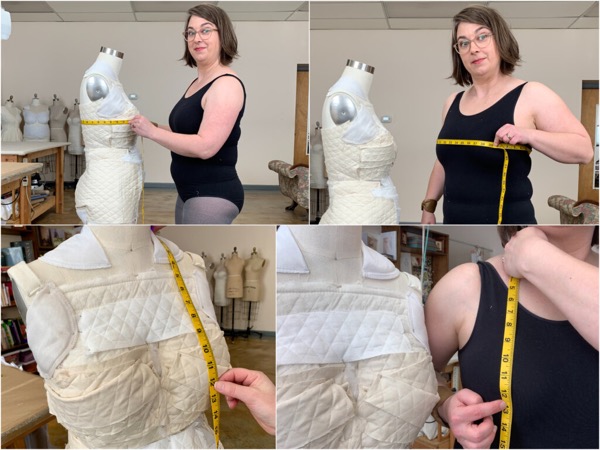
Work in front of full length mirror, start from the chest area and work your way down.
Measuring as you go, and also use the ruler squares to help get the proportion right. More details of how Brooks Ann did it HERE.
Notice how she uses non-adjustable professional dress forms (more on this in my mannequin comparison guide). Those mannequins that don't have dials cannot expand or be adjusted - so padding is the only way.
You'll find that by using an adjustable dress form (that's adjusted to your measurements), you could get away with padding less ...
In fact, most people only need to put their best fitting bras on her, and add some wadding at the waist / hip. Then simply dress your dummy with a firm fitted singlet at the end to hold it all together, and cover all the gaps. Easy!
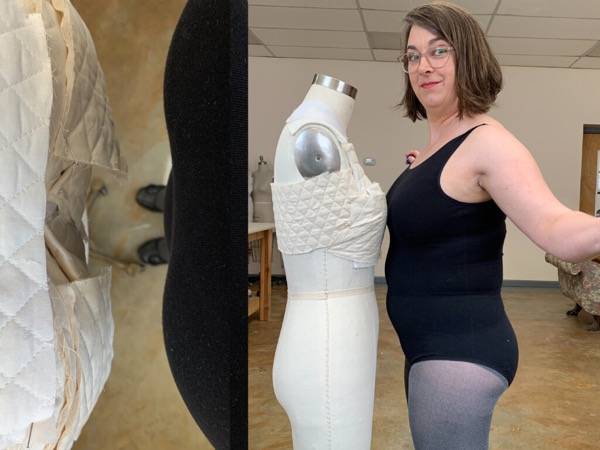
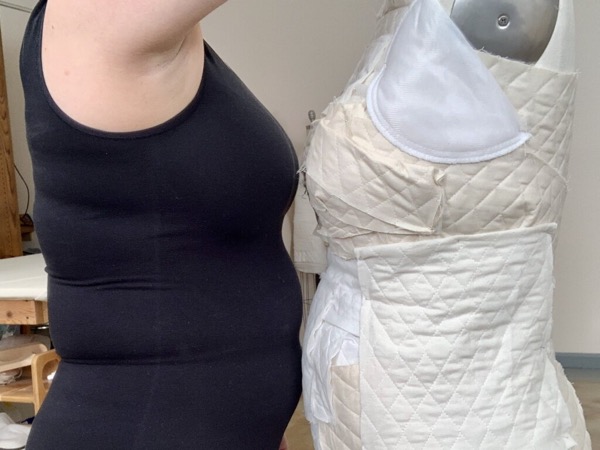
Voila... Now your sewing buddy actually looks like YOU
Have you padded up your sewing buddy too?
Show me photos & let me know how you go :-)
Happy Sewing!
![]()
xoxox
P.S. If you'd still like to know more, here's a whole eBook for you...

Thank you so much for this! I finally feel like I have good grasp on what needs to be done.
I got a dress form for Christmas and have been frustrated with the padding process to the point that it’s just been standing in the corner with one of my dresses on it, mocking me every time I enter or pass my sewing room.
I’ll definitely make time in the coming week to start again.
- Brooke W

Thank you, thank you, thank you for this wonderfully detailed, clear, and accessible instruction.
You have taken away the intimidation and despair of ever being able to have a body double that can be adjusted to my fluctuating weight. How many hours of fussin and cussin you have spared me!
Again thank you for all your prep and work to produce this. It was brilliant and my sewing room will undoubtedly become a much happier place.
- Andra