All About Binding Part 1: Bias or Straight?
Since some of the most commonly asked question I get are binding-related, I thought I’d put together a small series all about binding – this is the first part. Hopefully you will find this helpful!
What Do “Straight” and “Bias” Actually Mean?
 When we talk about straight or bias (in terms of sewing, that is – NOT gender orientation), we are actually referring to the grain of the fabric.
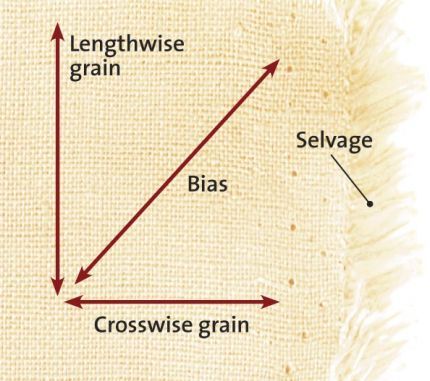
The term “grain” simply means the direction of yarn in the woven fabric.
There can be THREE possibilities:
- Lengthwise
- Crosswise
- Bias
We already know that grain line is important when you make garments. That means it is also important to understand how cutting your binding on different grains gives you completely different results.
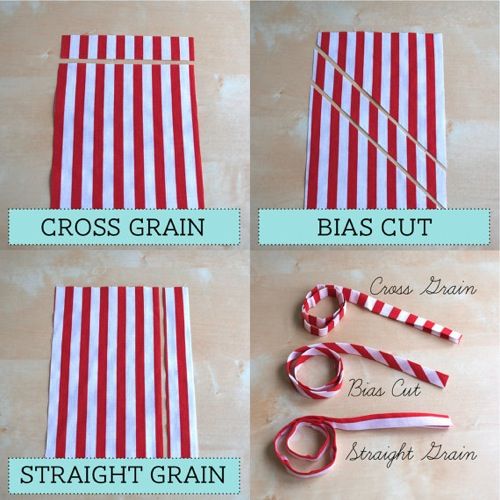
This is how Polly demonstrates the differences, using a stripe fabric:
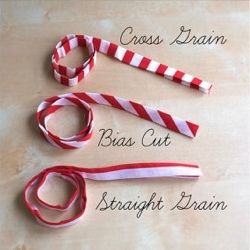
And now, check out how they go on a straight edge , then compare to a curved edge:
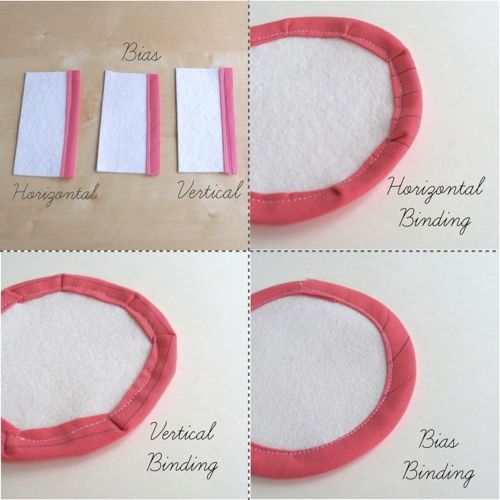
Amazing, huh? That goes to show why most bindings are cut on the BIAS grain for a GOOD reason, because they are the most versatile, and can be used in all sorts of ways ![]()
Now, let’s break it down by the usage of bindings:
Bindings are commonly found on:
- Clothing
- Quilts
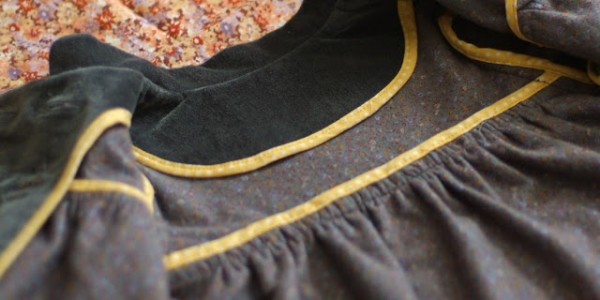
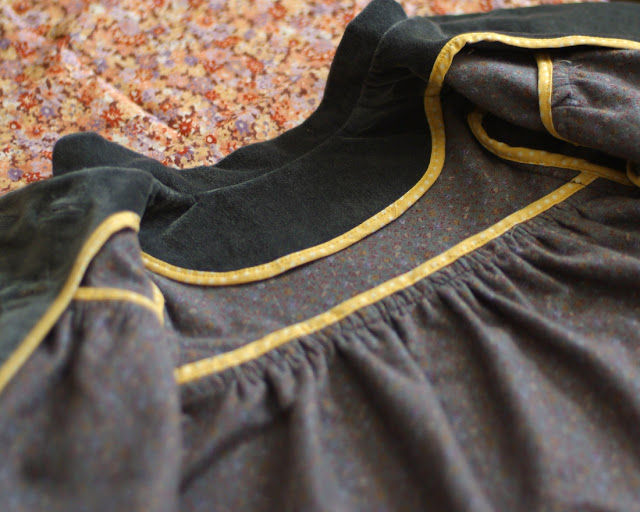
For clothing, it is generally used for finishing raw edges around armholes, neckline, and hems.
Instead of overlocking or serging to finish raw edges, sometime seen in un-lined garments, often done in contrast fabric, and almost always in bias!
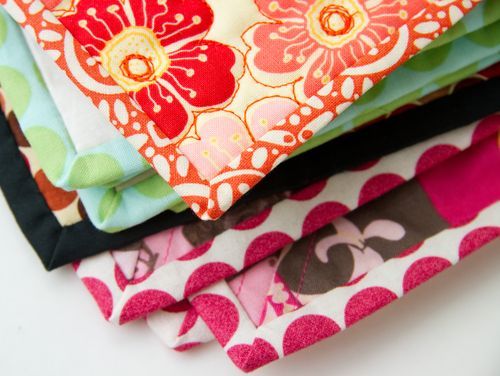
Quilts, on the other hand, seems to be more straight-forward: binding is added to finish the edges, which are generally straight, but there ARE exceptions.
While most quilt bindings are done with straight grains, sometime you will find that bias works best….
Ok, let’s look at the different options in Quilt Binding:
There are three ways to cut strips for binding quilts – following the three different grains. And all can be used for either single or double fold bindings (we will discuss this another day, in a separate article).
The easiest way to explain is to show you ( thanks for the images, Polly!)
Quilt Binding in Bias Grain
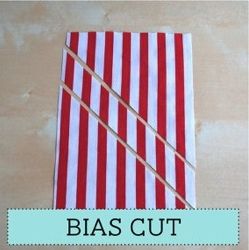 This binding is cut at a 45 degree angle to the selvage. It is flexible with most amount of stretch and can be used on any edge. For tightly curved edges, you absolutely NEED to use bias to get a nice flat binding that doesn’t pucker and gives you a smooth curve.
Bias binding can seem like it takes a LOT of fabric to make (this is not entirely true. More on that later). Many fabrics – in particularly “directional” prints, like checks and stripes – look especially effective when cut on the bias.
Take care not to stretch it out of shape when sewing it to a quilt (or anywhere, for that matter).
Quilt Binding in Cross Grain
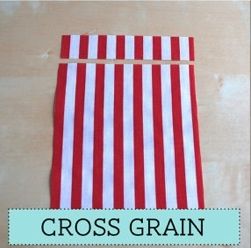 This binding is cut in strips that are perpendicular (90 degrees) to the selvage and this is by far the most popular method among quilters because it seems to be the most economical use of fabric and easy to cut, iron and sew.
Interestingly, in manufacturing (say, the production of bedding), fabric is cut slightly off grain as it is rolled on a cardboard bolt or cone - this means there is some stretch and can be a bit more forgiving during production, suitable for straight edges, mitred corners and slightly curved edges.
Even so, for tighter curves, bias binding is still needed so that you get a smooth finish.
Quilt Binding in Lengthwise Grain
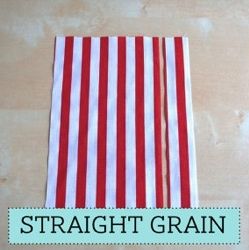 Lengthwise binding is cut on the lengthwise grain (parallel to the selvage) of your fabric. It has the least amount of stretch or flexibility compare to the other two types.
This is also the least common for quilt binding (most commonly used for straps on tops and dresses, to minimise any stretch – which can lead to wardrobe malfunction).
Since this binding is so stable, it can be a good choice for quilts that end up with outside edges on the bias grain (most commonly seen in setting triangles). The lengthwise grain can stabilise those edges.
Because of its lack of stretch, use it only on quilts with straight edges that are perfectly straight. It will not lay flat for quilts with curved edges (even slight curves).
![]() Myth-Busting Time!
Myth-Busting Time!
1. Does Bias Binding Wear Better than Straight Binding? Why is that?
Yes, it does actually.
This is because the threads in a bias binding lay diagonally and fold over the edge of your quilt; as opposed to straight binding – which has threads going parallel to the quilt and ends up with only a couple of threads at the very edge where the fold line is – that’s why it will wear out faster.
So if you are expecting your quilt to get lots of use, then bias binding may be the way to go. If you are doing a wall-hanging, straight binding should serve you well unless you have curved edges.
2. Does Bias Binding Require More Fabric?
No. Not at all.
It actually takes roughly the same amount of fabric for both types of binding, if you work it out mathematically.
The reason why cutting strips on the bias seems to take more fabric is because….
(A) you are cutting into a large area of fabric immediately when you cut bias, whereas cross grain strips gets cut a couple of inches at a time, slowly using up the fabric
(B) when you join the strips together to form a continuous length, it may seem like you are getting more joints in bias. That’s because the bias strips end up being different length – the strips closer to the corner would be a fair bit shorter compare to the strips cut from the middle of the fabric.
Got it. So How Do I Know When to Use What Grain?
Assuming your quilt doesn’t have curved or scalloped edges (which means you have NO choice but bias), the easiest way to make this decision is to consider TWO things:
- What sort of look does this quilt need?
- How would this quilt be used?
Consider how the binding will look ( with the rest of the quilt)
This is really more relevant if you’re planning to use a directional print (say, a stripe fabric). Fabrics with busy floral print or subtle texture won’t really change the look of your quilt much, if any.
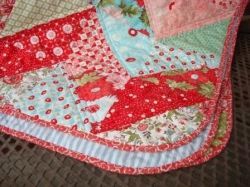
 Let’s go back to Polly’s example. She has used a high contrast, red-and-white stripe. If you use the Bias version, you will get a very prominent diagonal effect. If you go with the Cross Grain version, then you will get a “piano keys” effect. Depending on the quilt itself, you may find the choice is made for you (chosen by the quilt, afterall!)
So when will you use the Lengthwise Grain? Well, if you have a border print, with border designs the run parallel to the selvage, then you may wish to cut along the border design and use it as binding. This is extremely useful when you’ve used the same border fabric in the quilt, and seem to have trouble finding just the right fabric to bind! Yes, this happened to me before…. more than once.
Consider how the quilt will be used
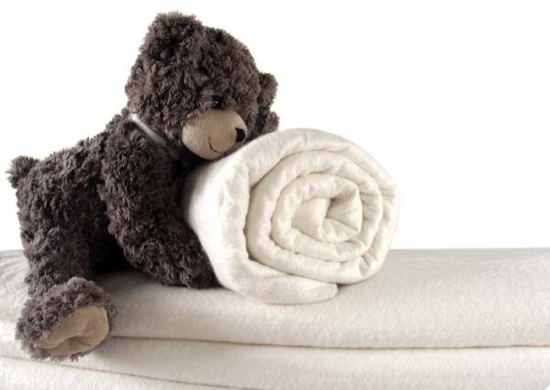
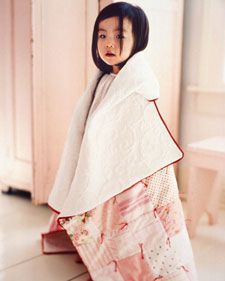 Now that we know bias grain wears better on the binding, it would be a sensible choice to put it on an “everyday” quilt that’s made to be hugged, chewed, dragged around, and generally loved to pieces. This is great for a kid’s quilt that will be thrown into the washing machine regularly.
Besides, you can always replace the binding if it wears out. You’d be surprised how tough a well-made quilt can be – the only thing that needs any work done is normally the binding – nothing else.
For a quilt that’s more of a “show piece” and won’t be subject to so much wear and tear, a straight grain will work perfectly well ![]()
As always, please feel free to ask me any time you feel unsure. I am happy to help you decide what grain best suits your project ![]()
Happy Sewing!!

xoxox
P.S. Hope this clears up a few things you might be wondering about binding!
And, if you’d like to know how to mitre corners, here's Part 2:
How to Mitre Corners with a Binding Foot
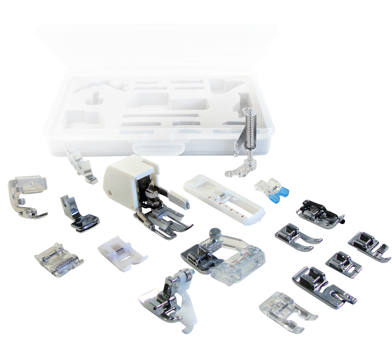
P.P.S. And, if you’d like to discover more about the various types of presser feet (and an overview of what they do), have a look at this one:
A Quick Guide to Your Sewing Machine Presser Feet
And if you’d like to learn some “Behind the Scene” Secrets, Read THIS :
Not All Presser Feet Are Made Equal
P.P.P.S. Still want more? Here's a FREE Comprehensive eBook for you:
Download it Now - it's yours.
You'll find heaps of useful (yet non-boring) information to actually help you sew easier (with less unpicking) - no matter where you are in your sewing journey :-)
Enjoy!
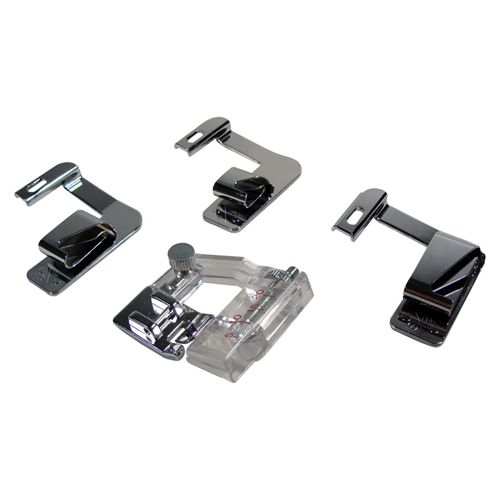
Bias Binding & Rolled Hemmer Set (Universal for 7mm & 5mm machines)

Adjustable Bias Binding Foot (Universal for 7mm & 5mm machines)

Perfectly clear! And exactly what I needed even though I'm using binding on a bag, not a quilt or a wearable garment. Thanks!!!!!!!!!!
- Babara

Thank you Shelley for a well written article. I was just struggling with the ‘bias or straight grain question’ for my latest quilt and you have answered it very clearly.
- Christine
Thank you for being clear and informative
- VerLynn
Awesome, informative, understandable tutorial! Thank you!
- Paula