How To Attach Your Walking Foot (and other Screw-On Feet) to Your Sewing Machine
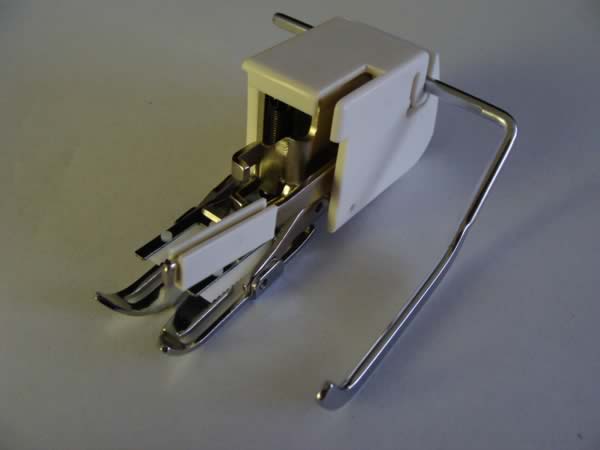
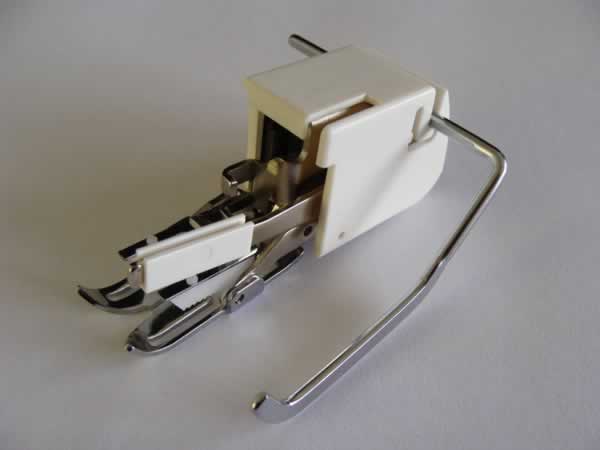
Finally….. You got a Walking Foot, or Darning Foot, or Bias Binding Foot – for your Janome sewing machine.
Wow, it looks like a piece of machinery all on its own!
 So you look at the foot, then look at your machine. How on earth do they come together?
If you are anything like me – all thumbs when it comes to all things mechanical – the thought of running the other way screaming might cross your mind at this point….
Fear Not.
Because in this article I will show you the HOW….. the rest is easy once you know how.
….. And you are going to just LOVE sewing with your new foot.
For demonstration purposes,
I’ve use the Walking Foot as an example here.
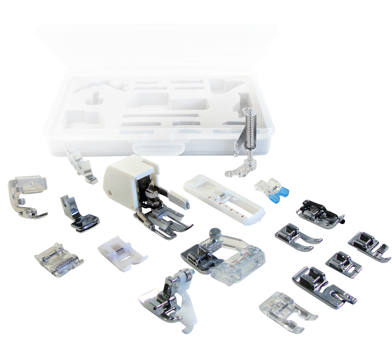
You will find the same method applicable to ALL your screw-on feet (such as Darning / Free-Motion Foot, Bias Binding Foot, Open-Toe Applique Foot…. the list goes on).
Ok, let’s get started:
First of all you need to remove TWO things:
- Whatever foot you’ve got on your machine right now
- The Presser Foot Adaptor (sometimes referred to as “Foot Holder”).
Almost all of the feet that came with your sewing machine will be the “Snap-On” type (such as the Satin Stitch / ZigZag Foot, Overedge Foot and our Quarter 1/4 inch Foot) as opposed to the “Screw-On” type (your Walking Foot, Darning Foot and Binding Foot belongs to this group).
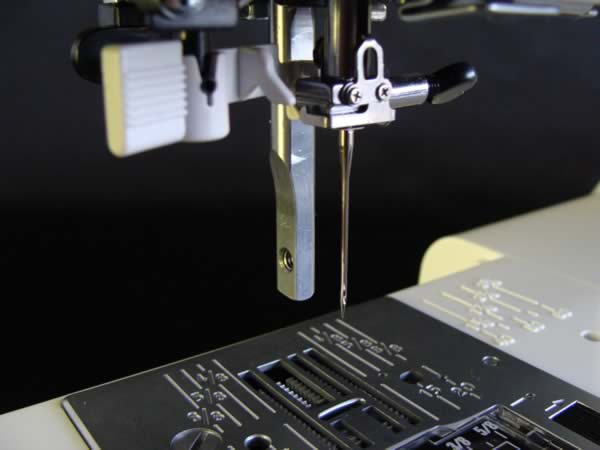
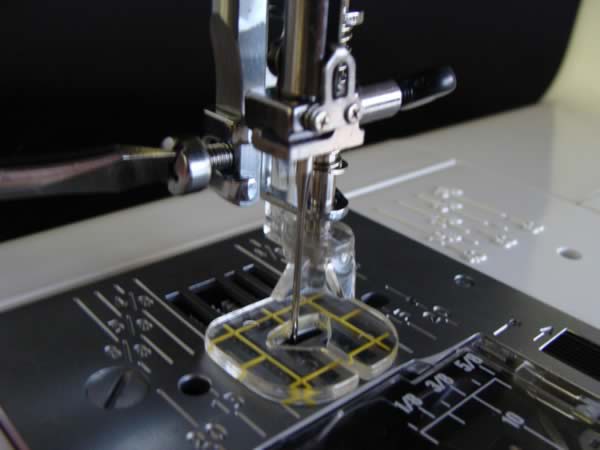
Before you do anything, turn the hand wheel towards you to bring the needle to its highest position (see Figure 4 in diagram below).
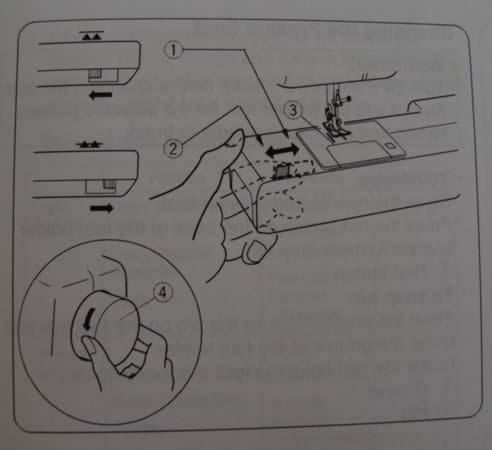
Next you also need to raise your presser foot, so that it is AWAY from the metal plate (see diagram below, but don’t worry too much about the numbers).
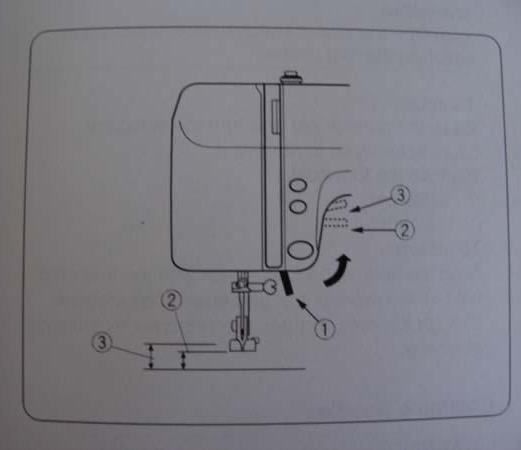
To remove the snap-on presser foot, push the presser foot release – a RED button or a lever – located behind the presser foot adaptor.
The presser foot will come off. Now be sure to put this foot in a safe spot so you know where to find it later….
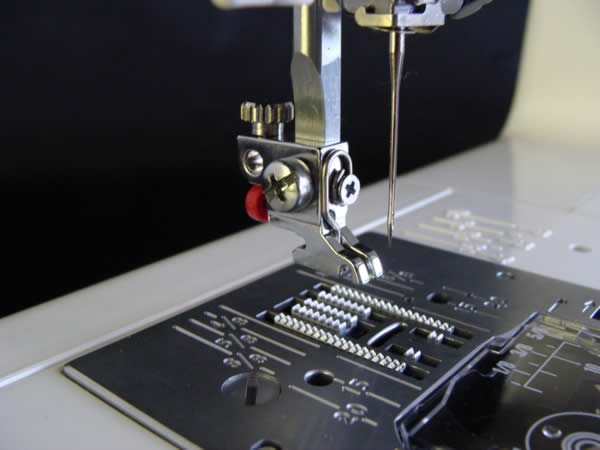
Using a screwdriver (the one that comes with your machine is fine) to undo that set screw on the side of the Foot Adaptor (see diagram below)

If your machine is brand new, and this is the first time you’ve tried to undo the screw, it will be fairly tight…..
Expect to use a bit of elbow grease and patience but NEVER use blunt force, because you don’t want to damage the thread on the screw.
If you have a magnetic screwdriver
- the sort that will grab hold of your screw – it will make this job easier.
Remove the Foot Adaptor from your vertical presser bar (commonly know as “shank”, and sometimes called “the stem”) and keep it in a safe place. You will need it to attach other feet.
![]()
DO NOT lose your Presser Foot Adaptor….
Because you NEED it to attach your snap-on feet back on your machine. BUT if you happen to lose it, Don’t Stress – we have some spares on sale in our store….
Put the little set screw somewhere Safe and Handy! You will need it again in a minute.
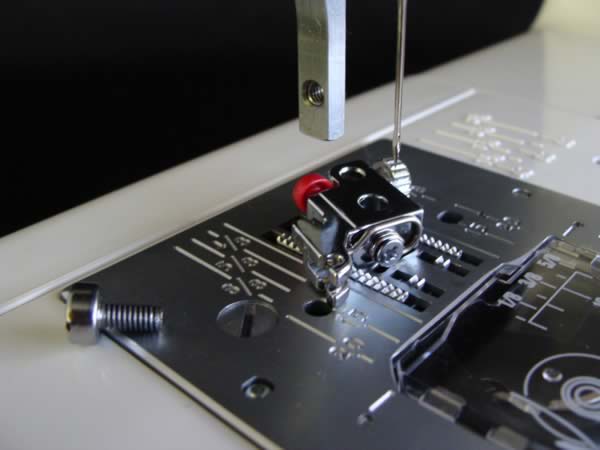
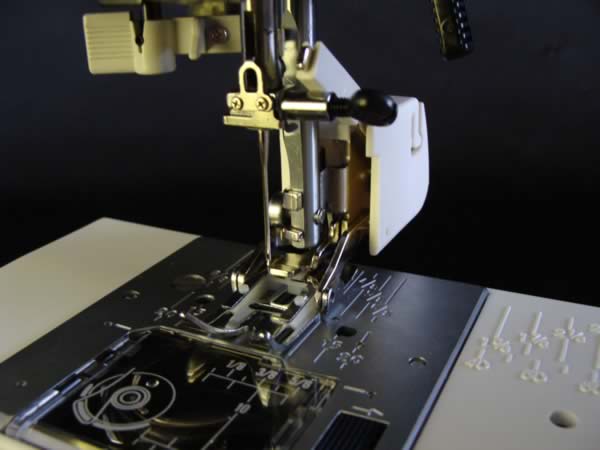
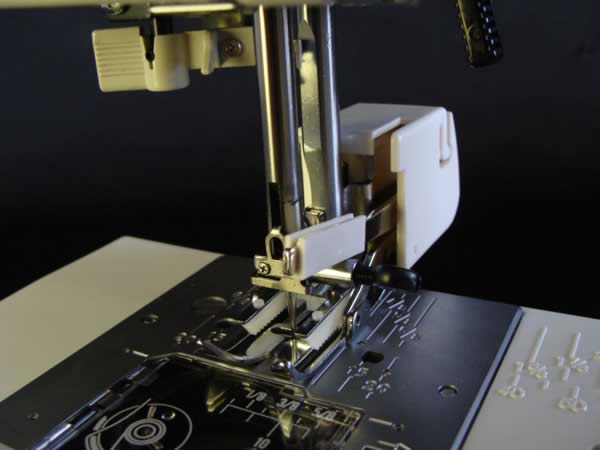
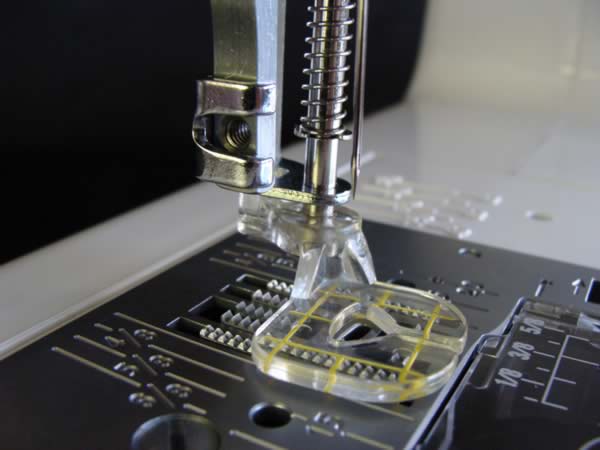
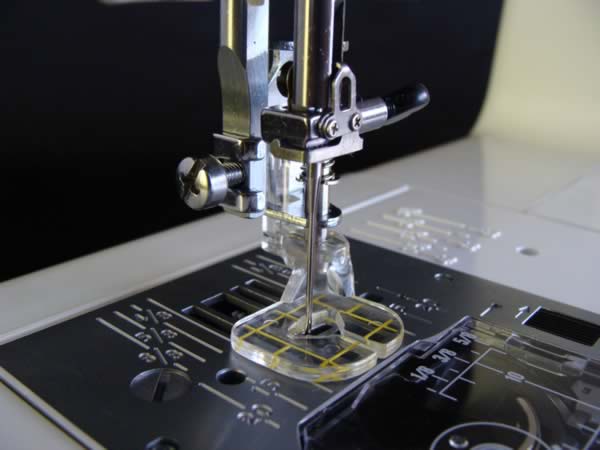
Now, your machine will now look something like this:
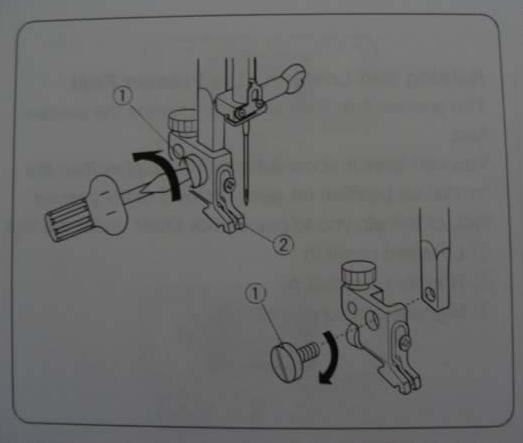
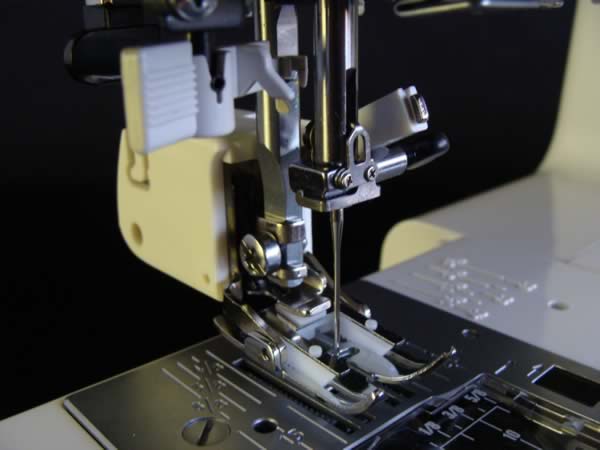
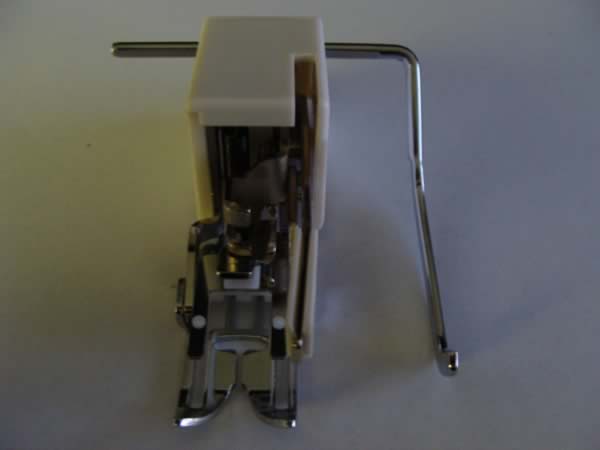
To attach the foot: First Hold your Walking Foot and raise its Lever.
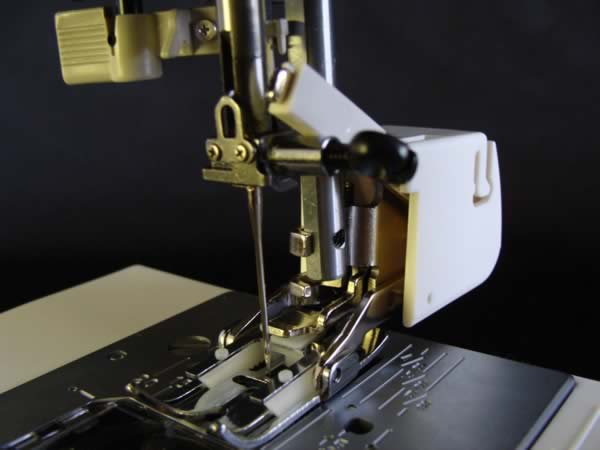
Keep the lever raised and hook the walking foot around the shank / presser bar.
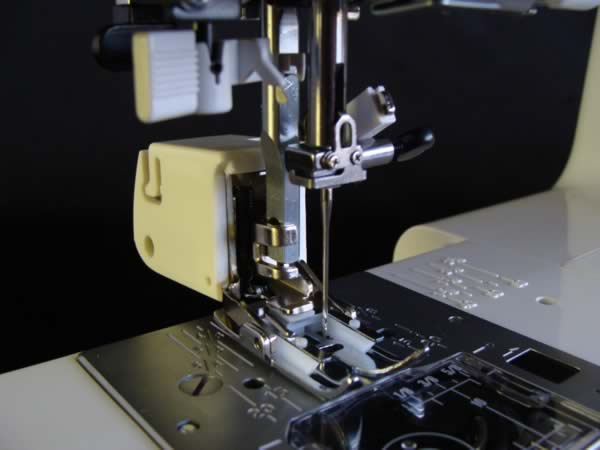
Slide the foot up and down until you’ve lined it up with the hole, so that you can insert the set screw.
Put the set screw in and tighten with the screwdriver.
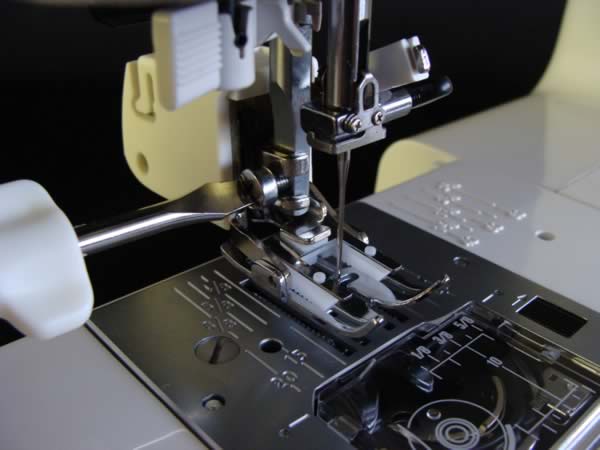
Make sure the walking foot is nice and securely attached.
IMPORTANT: The Lever from the Walking Foot need to be resting ON TOP of the Needle Clamp.
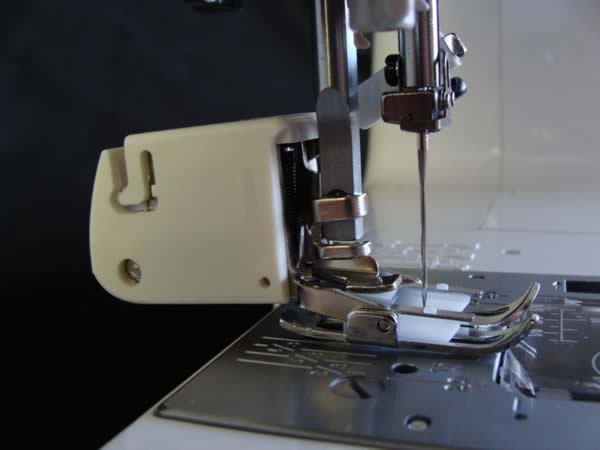
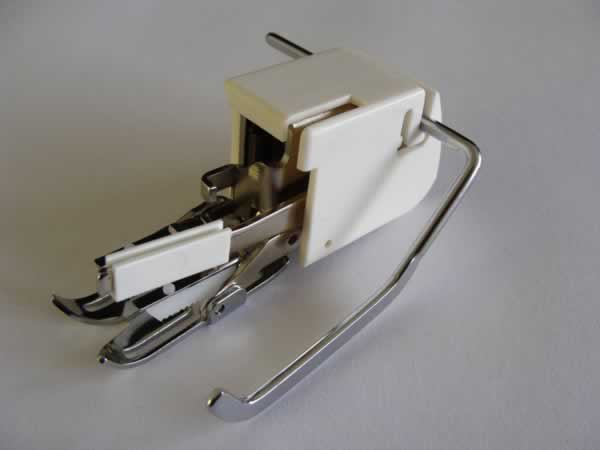
Yay! Your walking foot is ready for action.
Now, be kind to yourself and have patience as you try to get the hang of mastering this “foot-on, foot-off” action on a regular basis.
Oh, and please resist temptation to putting the walking foot on and just leaving it there to sew EVERYTHING….
as useful as your walking foot might be, it is NOT meant to be an all-purpose foot, and you would want to use the various feet you’ve got for the jobs they are designed for – to get best results, right?
Now, if there’s a quilting guide with your walking foot, this is what you do:
To attach it, simply let it fall into the slot (at the back) and move it left or right to set the desired width (NOTE: the widest it will go is about a little over an Inch & a Quarter, or 3.5cm).
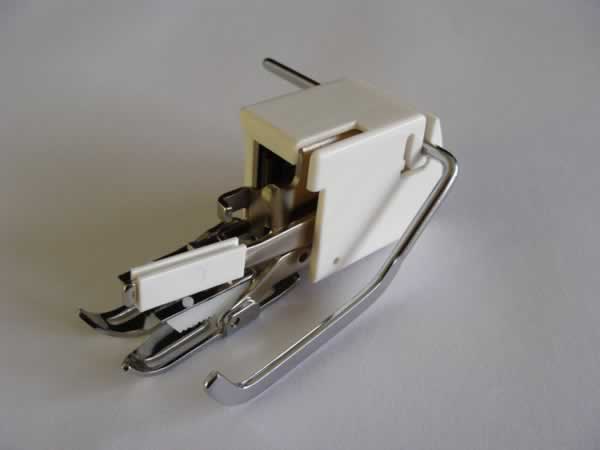
The guide is a simple device that’s meant to sit in its slot, so there is no need to screw it in or anything (gravity takes care of keeping the guide in place). Easy!
If you don't have a quilting guide, don't worry. You don't absolutely need one. Do THIS instead.
What About The Darning / Free-Motion Foot?
How does it get on the machine?
Same way as the Walking Foot, EXCEPT you need to lower (or “drop”) the feed dog BEFORE you start sewing.
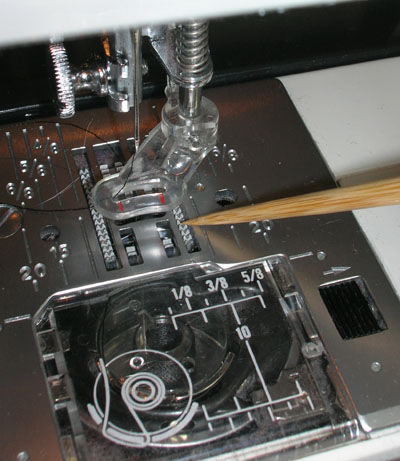
What is a “Feed Dog”?
The “teeth” that move underneath your fabric as you sew. See picture below.
How do you LOWER the feed dog, anyway?
The feed dog lever is normally located at the back of your machine. It moves either left or right.
- Push the lever to the RIGHT to LOWER the feed dog.
- Push the lever to the LEFT to RAISE the feed dog. This is the NORMAL position for general sewing.
Diagram below shows:
- Down Position
- Up Position
- Feed dog location
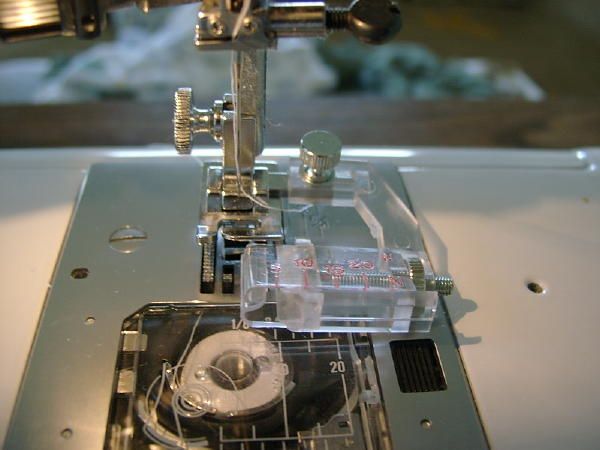
Here’s a quick recap to show you how to attach the Darning Foot:
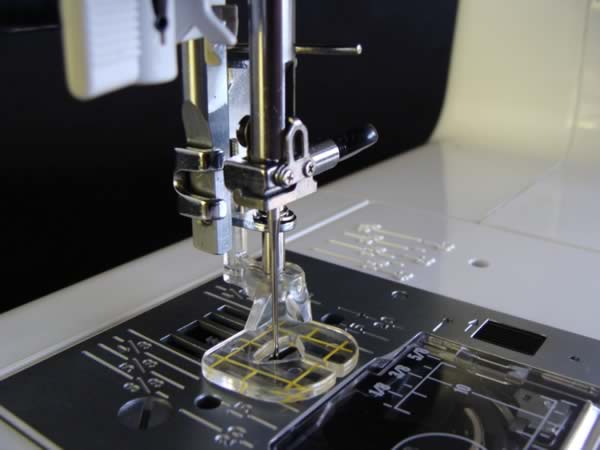
Once you have figured out how to attach the Walking Foot & Darning Foot, all the other screw-on feet will be a piece of cake to you!
See, a Binding Foot goes on just the same way!
While it might seem a bit fiddly to start with, this process does become easier (…. and I’m speaking from personal experience. I’m the klutz in the family).
As always, please feel free to ask me any time you feel stuck. I am happy to walk you through this process so you can get going with the fun part…..
Happy Sewing!!
![]()
xoxox
P.S. Looking for some of these specialty feet for your machine?
Take a look at our store HERE and grab yourself a new foot today!
P.P.S. And, if you’d like to discover more about the various types of presser feet (and an overview of what they do), have a look at this one:
A Quick Guide to Your Sewing Machine Presser Feet
And if you’d like to learn some “Behind the Scene” Secrets, Read THIS :
Not All Presser Feet Are Made Equal
P.P.P.S. Still want more? Here's a FREE Comprehensive eBook for you:
Download it Now - it's yours.
You'll find heaps of useful (yet non-boring) information to actually help you sew easier (with less unpicking) - no matter where you are in your sewing journey :-)
Enjoy!


thank you, I was completely lost in attempting to attach the new foot. Great visuals
- Ingrid

Thank you so very much for taking the time to post this information in such a detailed yet easy to follow sequential manner. I really appreciate it!
- Gabriela
Thanks, I thought it was broken
- Therese
Great post! Thank you!
- Maria
I would never have worked this out by myself, thank you!
- Helen